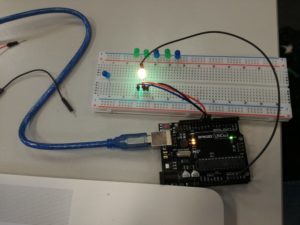
We began working with an Arduino UNO working with a single lights.
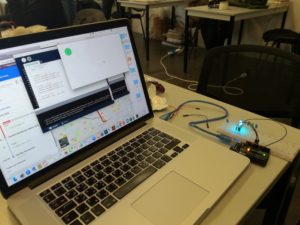
We used a processing piece with an ellipse that bounced around a screen. This ellipse would change colour each time it touched the edge of the screen.
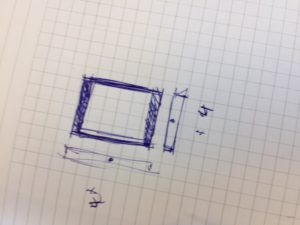
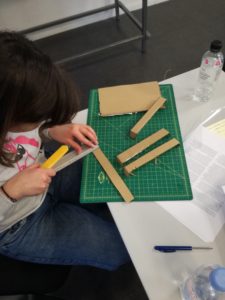
Rough plans of the structure
The beginnings of our frame for the iPad
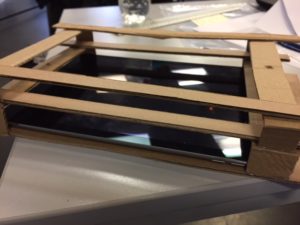
The structure in which we put our project was planned and built in class.
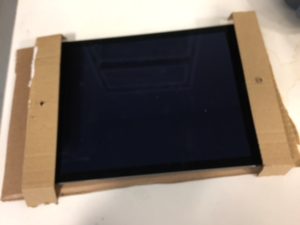
The structure made of cardboard
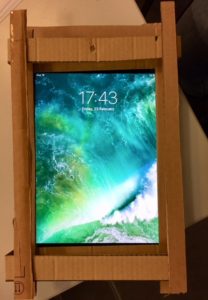
The iPad in its frame
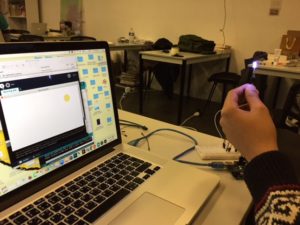
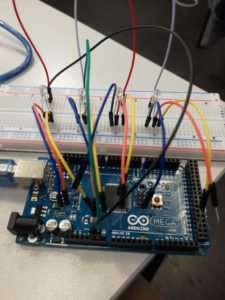
We used extenders to lengthen the RGB LEDs so that we could frame.