Arduino is an open-source electronics platform based on easy-to-use hardware and software.
ARDUINO INTRODUCTION
HOW TO CONNECT A SENSOR
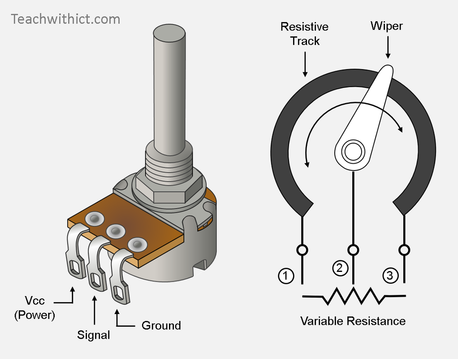
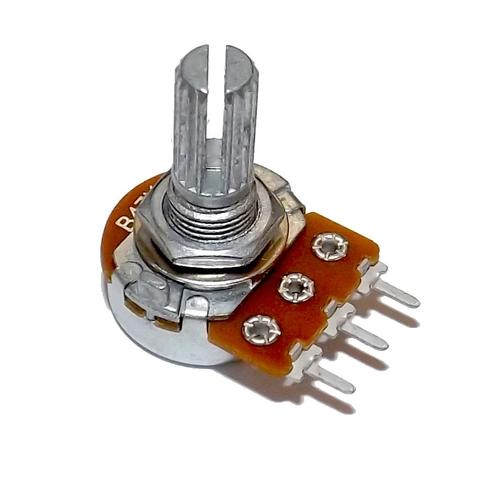
Potentiometer have three legs (+, data, -) but in the case of a sensor with only two legs we will use a 10k ohm resistance to create a voltage divider.

CODE EXAMPLE USING A SENSOR TO DIM A LED
// These constants won't change:
const int analogInPin = A0;  // Analog input pin that the sensor is attached to
const int analogOutPin = 9; // Analog output pin that the LED is attached to

int sensorValue = 0;        // value read from the sensor
int outputValue = 0;        // value output to the PWM (analog out)

void setup() {
  // initialize serial communications at 9600 bps:
  Serial.begin(9600);
}

void loop() {
  // read the analog in value:
  sensorValue = analogRead(analogInPin);
  // map it to the range of the analog out:
  outputValue = map(sensorValue, 0, 1023, 0, 255);
  // change the analog out value:
  analogWrite(analogOutPin, outputValue);

  // print the results to the serial monitor:
  Serial.print("sensor = ");
  Serial.print(sensorValue);
  Serial.print("\t output = ");
  Serial.println(outputValue);

  // wait 2 milliseconds before the next loop
  // for the analog-to-digital converter to settle
  // after the last reading:
  delay(2);
}
DIFFERENT TYPE OF SENSORS
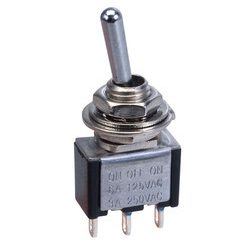
This first sensor is just a simple button, sending on/off informations
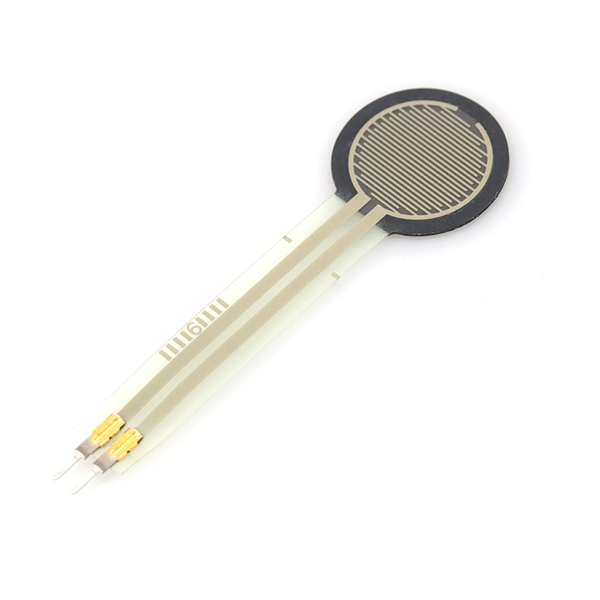
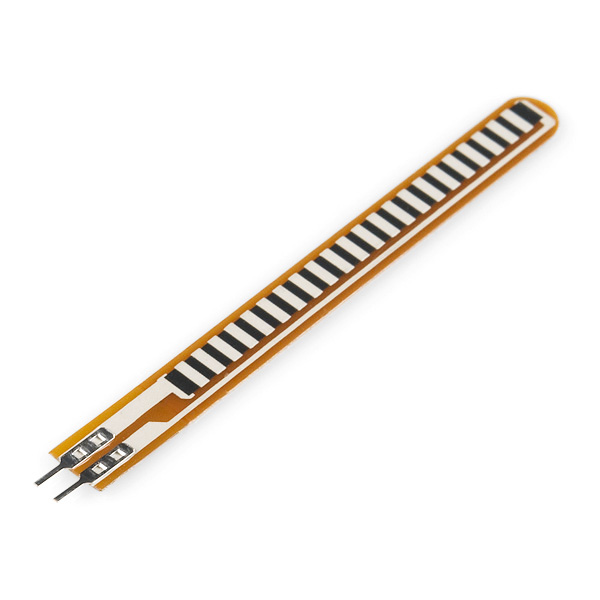
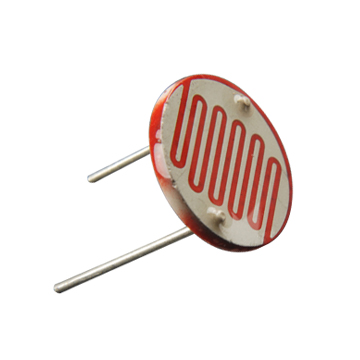
For this other sensors, arduino is reading the variation of their resistance
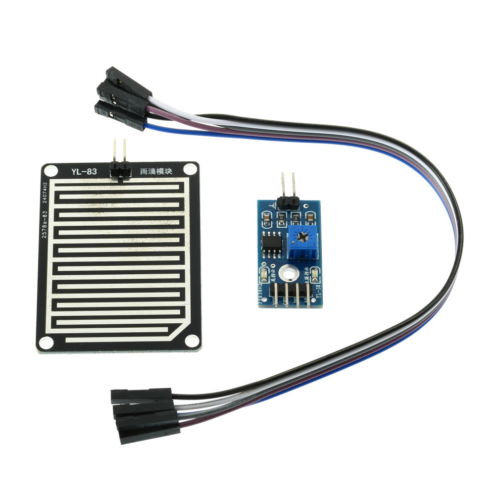
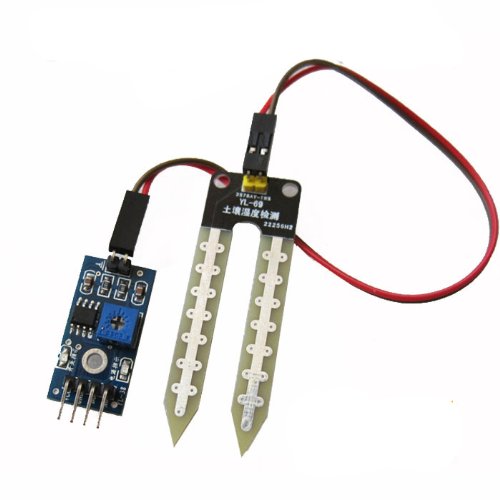
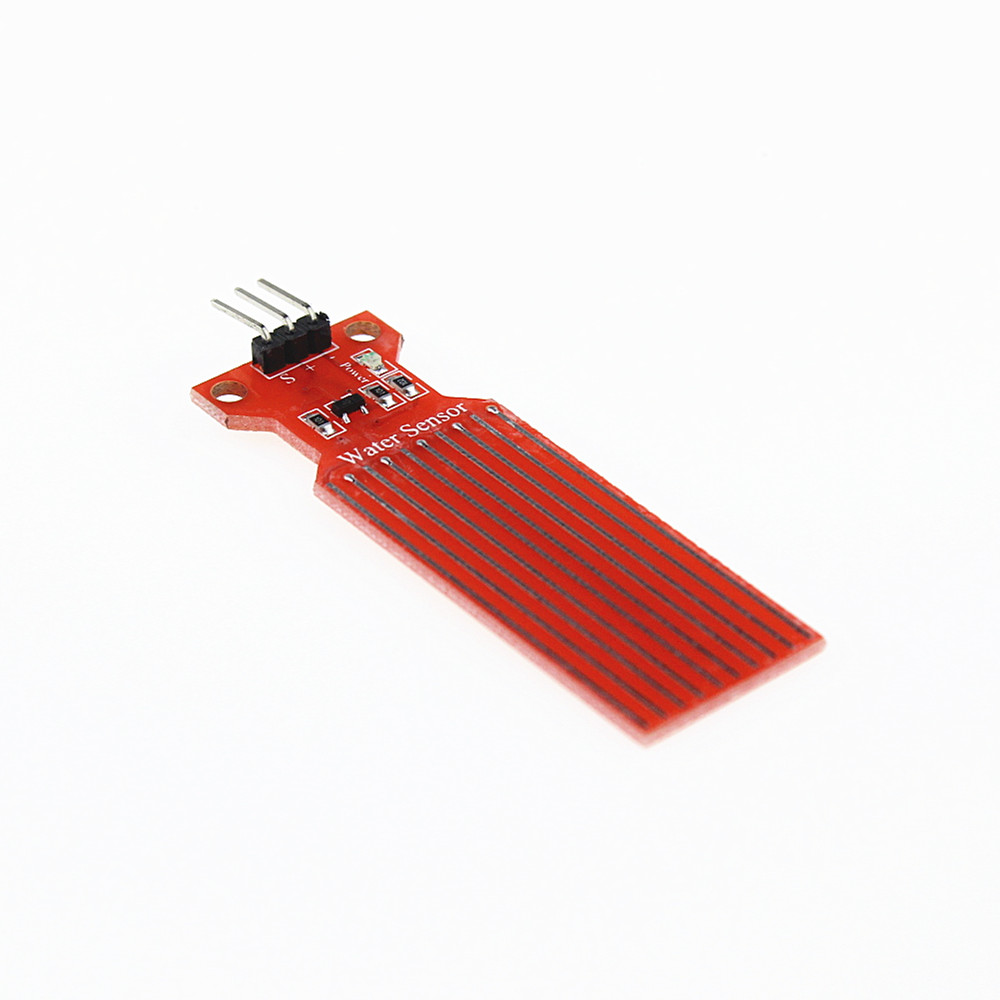
This sensors are sending digital informations
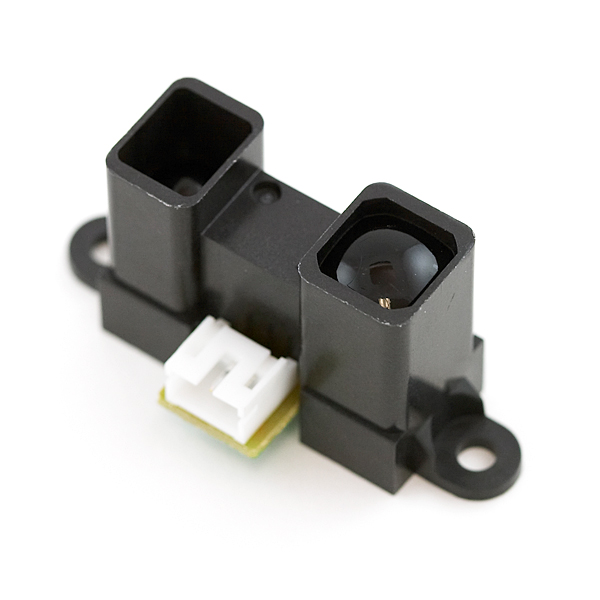
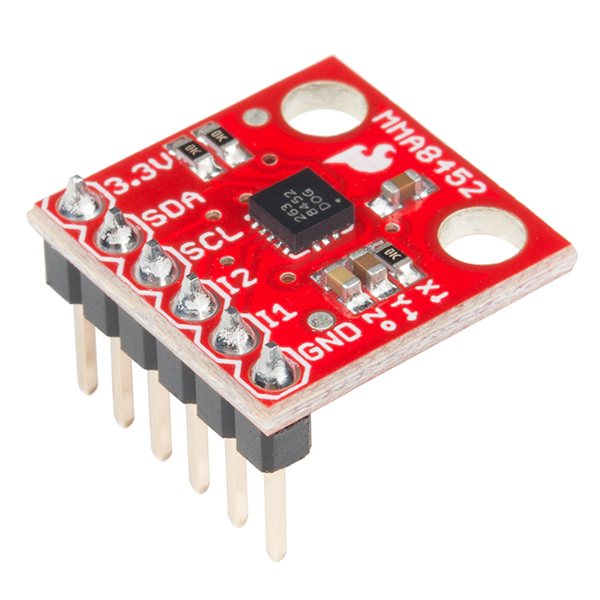
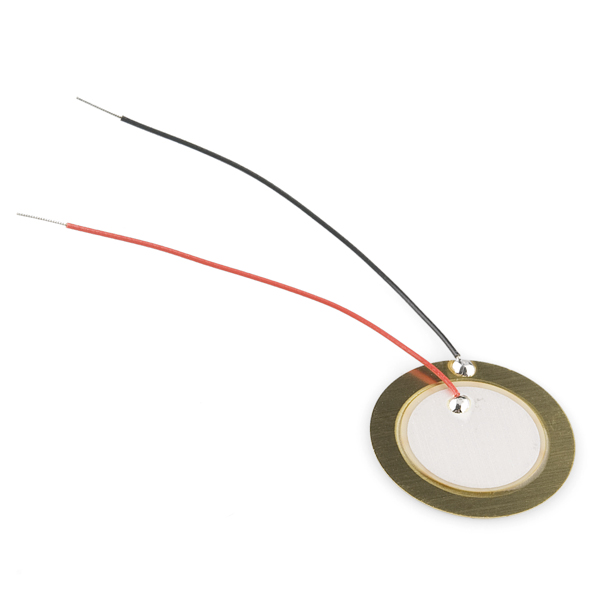
This sensor uses the piezoelectric effect, to measure changes in pressure, acceleration, temperature, strain, or force by converting them to an electrical charge.
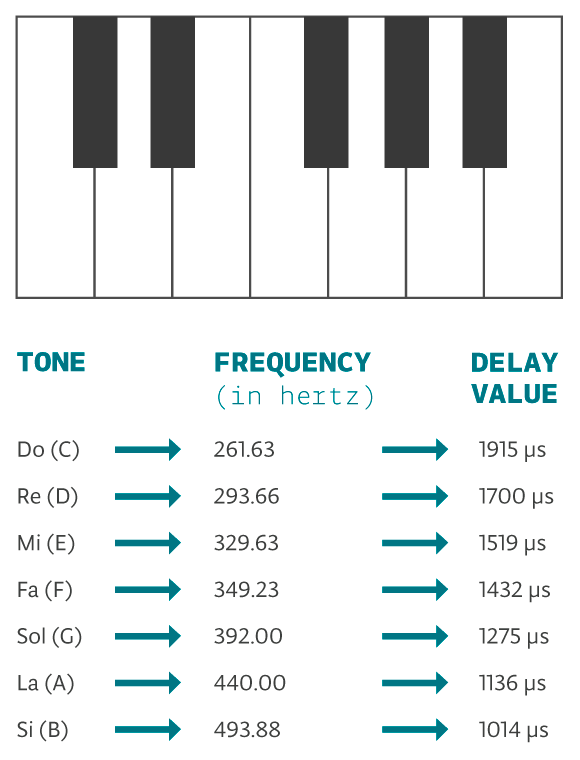
HOW TO MAKE SOUND WITH ARDUINO
There are a library called Tone, that we can use for making melody.
Syntax
tone(pin, frequency)
tone(pin, frequency, duration)
Parameters
pin: the pin on which to generate the tone
frequency: the frequency of the tone in hertz – unsigned int
duration: the duration of the tone in milliseconds (optional) – unsigned long
| Board | Min frequency (Hz) | Max frequency (Hz) |
| Uno, Mega, Leonardo and other AVR boards | 31 | 65535 |
A code example of an arduino “theremin” using a LDR and a speaker with tone library
// These constants won't change:
const int LDR = A0; // pin that the sensor is attached to
const int Speaker = 9; // pin that the LED is attached to

// variables:
int sensorValue = 0; // the sensor value
int sensorMin = 1023; // minimum sensor value
int sensorMax = 0; // maximum sensor value
void setup() {
// turn on LED to signal the start of the calibration period:
pinMode(13, OUTPUT);
digitalWrite(13, HIGH);

// calibrate during the first five seconds
while (millis() < 5000) { sensorValue = analogRead(LDR); // record the maximum sensor value if (sensorValue > sensorMax) {
sensorMax = sensorValue;
}

// record the minimum sensor value
if (sensorValue < sensorMin) {
sensorMin = sensorValue;
}
}

// signal the end of the calibration period
digitalWrite(13, LOW);
}

void loop() {
// read the sensor:
sensorValue = analogRead(LDR);

// apply the calibration to the sensor reading
sensorValue = map(sensorValue, sensorMin,
sensorMax, 50, 4000);

// play the tone
tone(Speaker, sensorValue);

//Take a break
delay(10);
}
CREATE A CAPACITIVE SENSOR WITH ARDUINO
For this you need the library capacitiveSensor. You will find it inside the top menu Sketch/Include library/manage library/…
Connect your sensor to arduino :
Which resistor to use
Use a 1 megohm resistor (or less maybe) for absolute touch to activate.
With a 10 megohm resistor the sensor will start to respond 10-15 centimeters away.
With a 40 megohm resistor the sensor will start to respond 30-60 centimeters away (dependent on the foil size). Common resistor sizes usually end at 10 megohm so you may have to solder four 10 megohm resistors end to end.
One tradeoff with larger resistors is that the sensor’s increased sensitivity means that it is slower. Also if the sensor is exposed metal, it is possible that the send pin will never be able to force a change in the receive (sensor) pin, and the sensor will timeout.
Also experiment with small capacitors (100 pF – .01 uF) to ground, on the sense pin. They improve stability of the sensor.
Code for capacitive sensor :
#include <CapacitiveSensor.h>

CapacitiveSensor   cs_4_2 = CapacitiveSensor(4,2);        // 10M resistor between pins 4 & 2, pin 2 is sensor pin, add a wire and or foil if desired

void setup()
{
   cs_4_2.set_CS_AutocaL_Millis(0xFFFFFFFF);     // turn off autocalibrate on channel 1 - just as an example
   Serial.begin(9600);
}

void loop()
{
    long start = millis();
    long total1 =  cs_4_2.capacitiveSensor(30);

    Serial.print(millis() - start);        // check on performance in milliseconds
    Serial.print("\t");                    // tab character for debug windown spacing
    Serial.println(total1);                  // print sensor output 1

    delay(10);                             // arbitrary delay to limit data to serial port
}